[Update April 18 from Kim: In an effort to give full disclosure to future students I’d like to let you know that I’m undergoing treatment for Stage 4 Lymphoma. I hope and aim to make a full recovery by next year! This means I’m not able to participate as an instructor as much as I’d like to but students have excellent reviews of my courses and ask surprisingly few questions – I hope that means that my courses are complete enough without needing lots of clarification. Please remember there is a money back guarantee so if you purchase my course then decide you would need more instructor input you can utilise that feature. So remember life is short – take the course – learn the skills – make the move – do the thing – eat the cake – and remember to always check that what you are doing makes you happy!]
If you’re an interior designer you need this course!
- Organise with layers, styles and scenes so that you can easily switch between architectural drawings and 3D design views
- Produce electrician drawings, plumbing drawings and section cuts at the click of a button – all within SketchUp
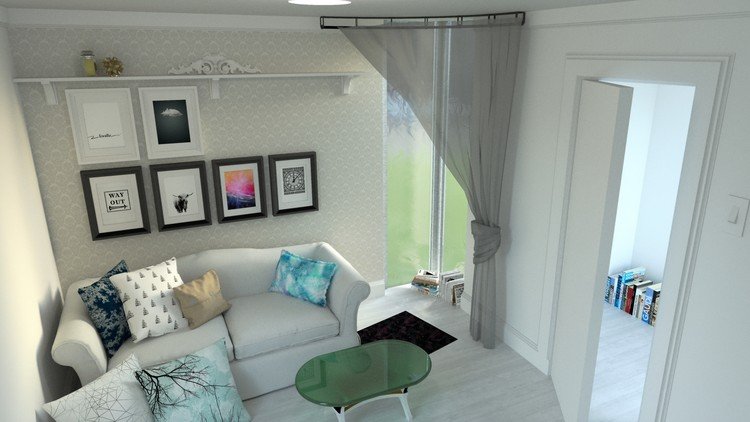
- Render photorealistic images with reflective surfaces, lighting and custom textures using Twilight from within SketchUp
- Receive a full PDF copy of my published workbook that compliments this course, available on Amazon/Kindle/Apple Books but FREE to all course members
Its likely that you’ve used and liked SketchUp – the once-Google software now owned and operated by Trimble that is free at entry level and easy to use. SketchUp makes it easy to build furniture, buildings and entire towns all from your imagination or replicating reality. Perhaps, like me, you started your Interior Design journey by obsessively building and designing room after room in SketchUp.
Now its time to either go back to SketchUp or improve your experience of it – by harnessing the powerful system that harnesses SketchUp’s Layer organisation, styles and scenes. This system means that you can switch between a designing view and a 2D plan, a wireframe and a cross section, a view of the clients home with existing items in grey and proposed changes in green, a view that shows only the internal fixtures of your design or one that shows only the walls.
Without this system it is likely that the only way you could do these things was to copy your model and modify it for specific uses – deleting what wasn’t needed in each one. But any changes in one model would need to be copied into others. This is of course highly inefficient and ultimately unworkable – the system covered in this course will revolutionise your workflow to use just one model to cover everything. Make the change once then just switch views to see the technical plans, elevations and sections with the new change reflected.
Its not only the organisational system we’re covering. We’re also going to learn how to use Twilight Render. This is a SketchUp plugin, again free at entry level, that works directly from within SketchUp to render photorealistic images. We’re finally going to be able to:
- display bumpy textures without modelling the bumps into the model
- have reflective surfaces such as mirrors and shiny surfaces
- have realistic ‘scenery’ seen outside windows without modelling
- create light sources that brighten your room as per your own lighting design and set up
All this will help you to make SketchUp your main or only software to do your Interior Design work. You’ll be able to produces work at a new speed and efficiency. Small changes now no longer mean hours of extra work tweaking all the architectural drawings. You are just one click away from a plumbers plan to an electricians plan, a cross section and an ideal view set up ready to render.
Have a look at the free preview videos to see the system in action and I can’t wait to see you inside the course!


